Why should you use NordVPN?
If you’re asking yourself, “Do I need a VPN?” — think about how often you use public Wi-Fi, share sensitive information online, or simply want more privacy while browsing. A virtual private network (VPN) encrypts your internet connection and routes your traffic through a VPN server, making it harder for others on the network to see what you’re doing and replacing your real IP address with the server’s IP.
Those are some of the main benefits of a VPN, but NordVPN goes beyond the VPN connection itself. Depending on your device and plan, you can also use next-gen antivirus features to block malicious and phishing websites, scan downloads for malware, and block ads and trackers.
And you don’t need to know the technical ins and outs of VPNs to get these benefits. Once you know how to use a VPN, protecting your connection can become as routine as connecting to Wi-Fi. With NordVPN, you can get started with just a few clicks.
How to start using NordVPN in 3 steps
Before you explore NordVPN’s settings and extra features, you need to get the basics in place. Start with these three steps to set up your VPN.
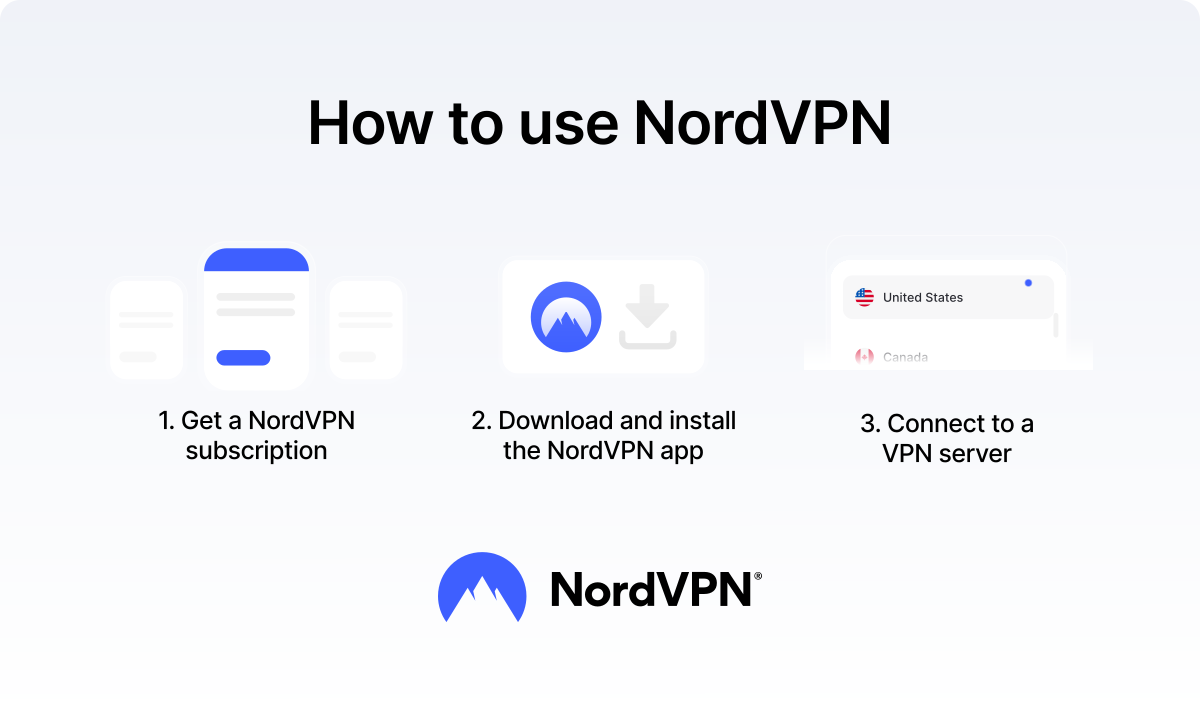
1. Get a NordVPN subscription
Start by visiting the NordVPN website and choosing a NordVPN plan that suits your needs. Create your Nord Account, choose your subscription period, and complete the purchase. You’ll use the same account to sign in to NordVPN on your devices.
All NordVPN plans come with a 30-day money-back guarantee, so you can request a refund within the first 30 days if you decide that the service isn’t right for you.
Your subscription is set to renew automatically. For most payment methods, the auto-renewal charge is processed 14 days before the actual renewal date to help avoid any interruption to your service if a payment issue occurs. You’ll always receive an email reminder before renewal, and you can cancel auto-renewal at any time in your Nord Account.
2. Download and install the app
Next, download the VPN app for your device. Download NordVPN directly from the official website or your device’s official app store, such as the Apple App Store, Google Play Store, or Microsoft Store.
Install the app, open it, and log in with the Nord Account you created when you subscribed. Once you’re in, you’re ready to make your first VPN connection.
3. Connect to a VPN server
For the quickest option, open the app and select “Secure my connection.” NordVPN will automatically choose a recommended VPN server and establish a secure connection for you.
You can also choose a specific server location from the map or server list. This option comes in handy when you want to use NordVPN to change your virtual location. Connect to a server in your chosen country, and websites will generally see that server’s IP address and approximate location based on it, rather than your own. Keep in mind that websites can also use other signals — such as browser fingerprinting, cookies, or account logins — to identify returning users.
PRO TIP
For everyday use, stick with the “Secure my connection” option, which automatically picks the best server for your location, unless you need a specific virtual location. If you do, check out our tips on choosing the best country for a VPN server.

How to use NordVPN on different devices
The basics of starting to use NordVPN stay the same on most devices: install NordVPN, log in to your account, and connect to a server. However, where you get the app, how you connect, and which settings you can use vary slightly from platform to platform.
PRO TIP
If you have several smart devices that don’t support VPN apps, look into a compatible router setup. One setup can cover multiple connected devices instead of making you find a workaround for each one.
How to use NordVPN’s Meshnet
Meshnet is a NordVPN feature that lets you create a private network between your devices, even when they’re on different networks or in different locations. You can use Meshnet with a free Nord Account in supported regions — a paid NordVPN subscription isn’t required. Meshnet uses encrypted connections to link your devices, so you can securely access them remotely, share files, play LAN games, or route traffic between compatible devices.
To set up Meshnet:
- 1. Install the NordVPN app on each device you want to connect.
- 2. Open NordVPN and select “Meshnet.”
- 3. Turn on Meshnet on each device. Devices signed in to the same Nord Account will automatically find and connect to each other.
- 4. To connect someone else’s device, send them a Meshnet invitation and wait for them to accept it.
- 5. Choose what each connected device can do by managing its permissions, such as file sharing, remote access, or traffic routing.
- 6. Use the device’s unique Meshnet name or Meshnet IP address to connect to it when needed.
Review permissions whenever you add a new device, especially one that doesn’t belong to you. Only give each device the access it needs and reserve traffic routing and local network access for devices you trust. Follow the best Meshnet practices to keep your network secure.
NordVPN features to turn on
A VPN connection already gives you plenty of protection online, but NordVPN can do much more than encrypt your traffic and change your IP address. Turn on a few extra features to get even more privacy, security, and convenience from the app.
How to turn on Kill Switch
Kill Switch helps reduce the risk of accidental data exposure if your VPN connection drops. Instead of letting your device fall back to an unprotected internet connection, it blocks internet access until you reconnect to a VPN server.
To turn on Kill Switch:
- 1. Open the NordVPN app.
- 2. Go to “Settings.”
- 3. Find “Kill Switch.”
- 4. Turn on the available Kill Switch option.
The exact options depend on your device. For example, Windows lets you choose specific apps to close with the app Kill Switch, while other platforms may apply Kill Switch across your entire connection.
How to turn on auto-connect
Auto-connect tells NordVPN to establish a VPN connection automatically instead of waiting for you to connect manually. It comes in particularly handy on unsecured public Wi-Fi, where it’s easy to join a network and forget to turn your VPN on.
To turn on auto-connect:
- 1. Open NordVPN and go to “Settings.”
- 2. Find “Auto-connect.”
- 3. Turn the feature on.
- 4. Choose when you want NordVPN to connect automatically, depending on the options available on your device.
- 5. Choose your preferred location or leave NordVPN set to a recommended server.
Use auto-connect if you regularly use hotel, airport, café, or other public Wi-Fi networks. It removes one more thing you need to remember when you connect to a new network.
How to turn on the next-generation antivirus
NordVPN’s next-gen antivirus* adds protection beyond the VPN connection itself. Its security tools can block malicious and phishing websites, stop intrusive ads and trackers, and scan downloads for malware.
To turn it on:
- 1. Open the NordVPN app.
- 2. Select the shield icon to open the security features.
- 3. Turn on the available next-gen antivirus protection.
- 4. Review the individual tools and adjust them to your needs, such as NordVPN’s ad blocker, tracker blocker, malicious website blocker, and malware scanner.
Unlike the VPN itself, some next-gen antivirus features can continue protecting you even when you aren’t connected to a VPN server. Keep in mind that full anti-malware and browsing protection powered by the next-gen antivirus is available on Windows and macOS with NordVPN Complete and Ultra plans. On other platforms, you can turn on real-time protection for scam and phishing protection.
*NordVPN’s next-gen antivirus is a comprehensive digital threat protection tool that’s available on Windows and macOS. Learn what it is and how it works in the next-gen antivirus whitepaper.
How to use obfuscated servers
Obfuscated servers disguise VPN traffic so that it resembles regular internet traffic. This can improve connectivity on networks with strict firewalls that interfere with standard VPN connections, such as some public Wi-Fi hotspots.
To connect to an obfuscated server, follow these steps:
- 1. Open the NordVPN app on your device.
- 2. Go to “All locations” to open the full server list.
- 3. Select the “Obfuscated” tab.
- 4. Choose the fastest server for your location or pick a specific country from the list.
- 5. Wait a few seconds until the connection is established — you’re now connected through an obfuscated server.
On Linux, obfuscation is only available with the OpenVPN protocol. Switch the technology to OpenVPN (either TCP or UDP), enable “Obfuscation” in “Settings,” then connect to any country.
Obfuscated connections may be slightly slower than regular servers because of the extra layer of traffic disguise — use them only when a standard connection doesn’t work.
How to check if NordVPN is working
Once you connect, you can quickly check if your VPN is working and confirm that your virtual location has changed:
- Check the NordVPN app. The app should show that you’re connected and display your current VPN server and location.
- Check your IP address. Look up your public IP address while connected to NordVPN. It should differ from your regular IP and show an approximate location that matches your VPN server.
- Disconnect and compare. If you’re unsure, disconnect from NordVPN and check your IP address again. Reconnect, repeat the check, and compare the results.
- Run a VPN leak test. Check for DNS, IPv6, or WebRTC leaks to make sure your regular IP address or other network information isn’t exposed while the VPN is active.
Online security starts with a click.
Stay safe with the world’s leading VPN