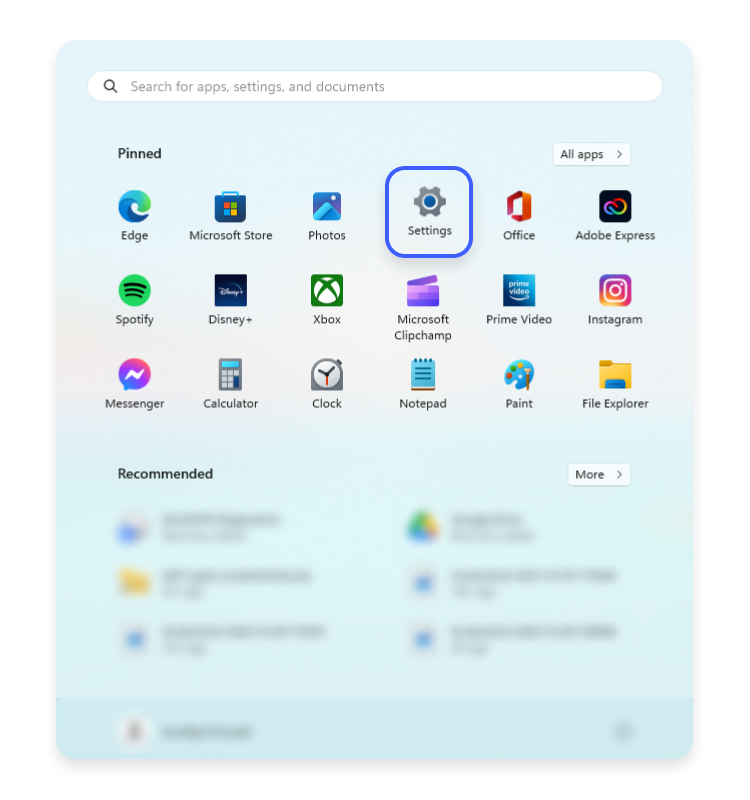
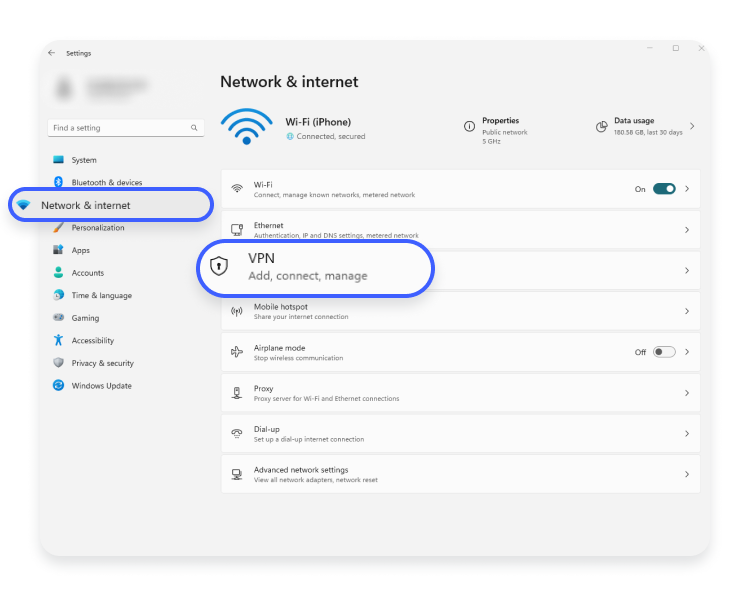
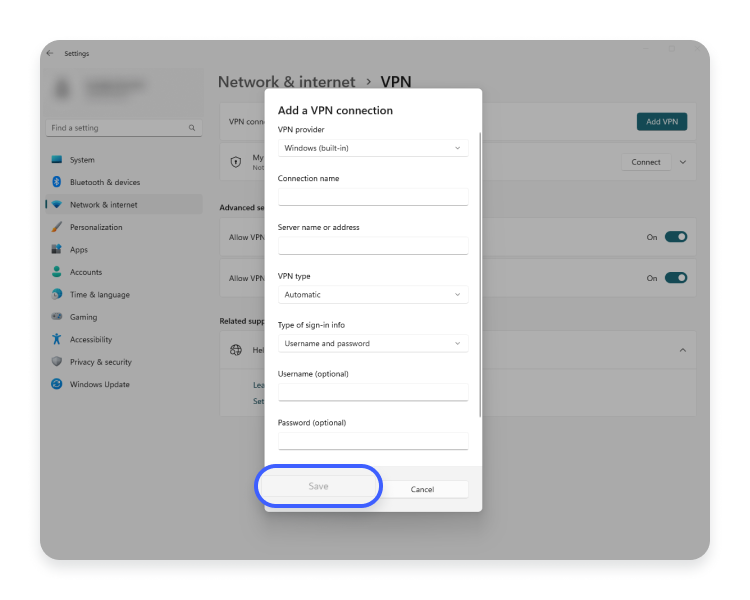
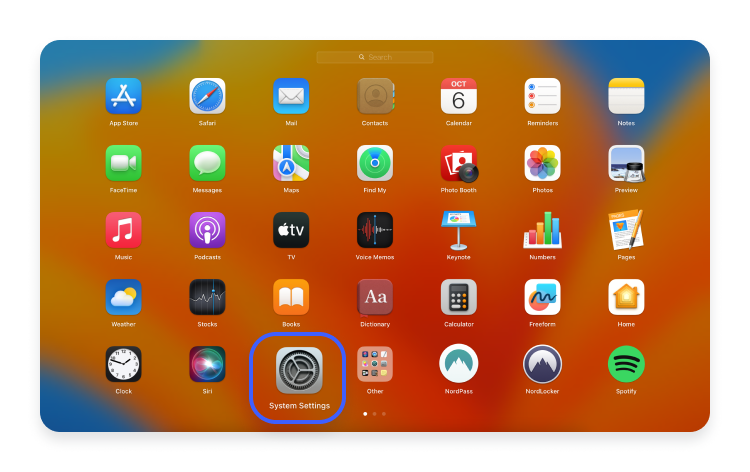
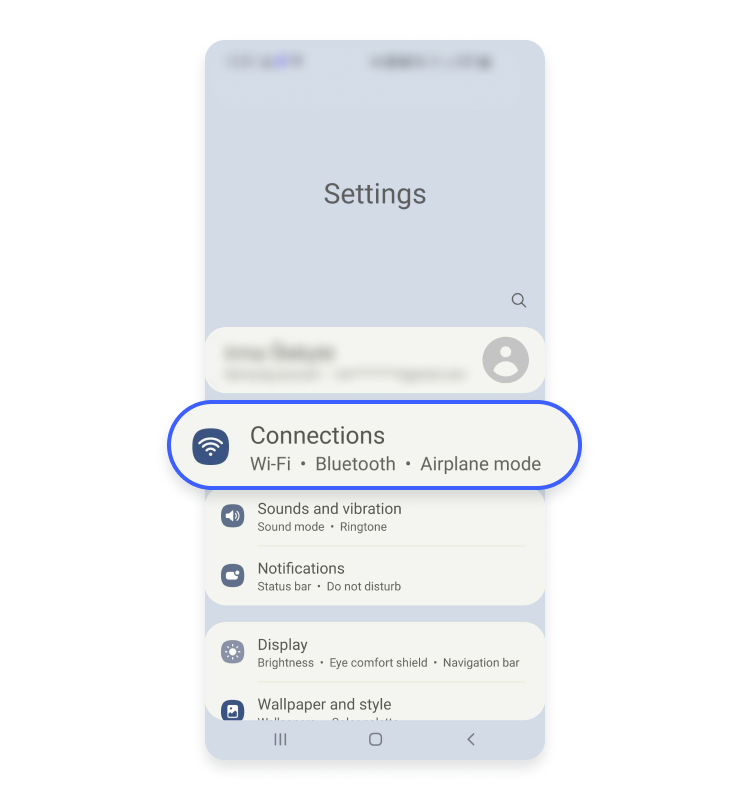
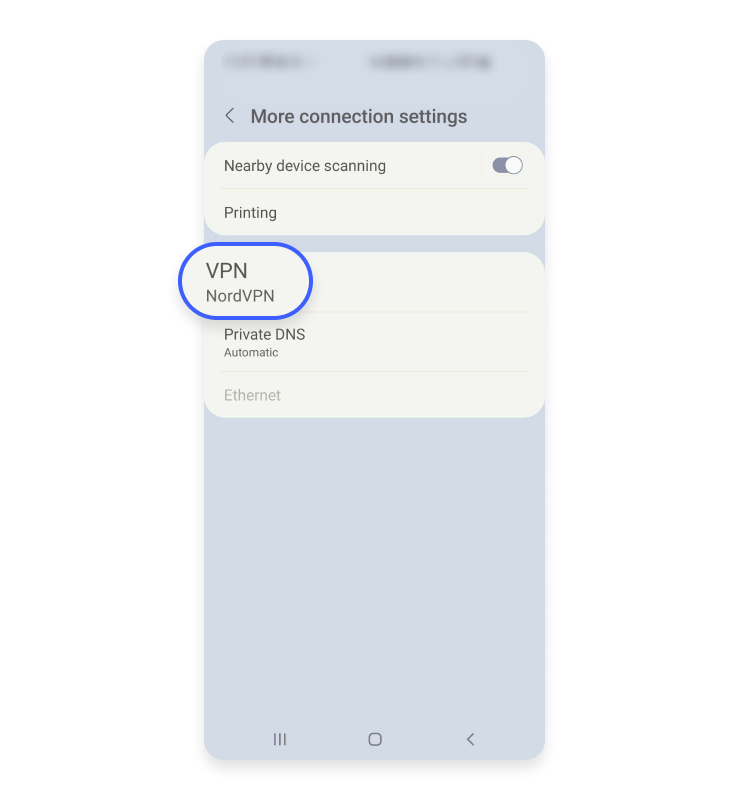
Most consumer VPN apps are easy to use and offer a wide range of security features without users having to change settings manually. However, in some cases, you may want to set up your VPN manually. Here’s how to manually configure your VPN on Windows, macOS, iOS, and Android devices.
VPN configuration is the process of setting up your virtual private network (VPN) to work in a specific desired way. VPN configuration often involves changing default settings and customizing them to your needs.
Once you’ve configured your VPN, it’s possible to export the settings and save them on your device. You can import this file to other devices or use it to restore your VPN settings if something goes wrong.
How do I set up a VPN?
The steps for setting up your VPN will depend on your provider. However, here’s a general guide for setting up your VPN:
Choose a VPN provider. The first step is finding the right VPN provider. Choose a reliable, reputable company that offers a wide range of cybersecurity features. You should also look for a VPN with good global server coverage for better speed and connection. Find out how NordVPN compares to other VPN providers in this NordVPN review.
Download and install the VPN app. The easiest way to set up your VPN is by downloading the native VPN app — the app developed for a specific operating system. These apps let you take full advantage of the features and capabilities the VPN provider offers without you having to change the settings. Most VPN providers offer software for Windows, Mac, iOS, and Android devices.
Sign up or log in. Once you’ve purchased a subscription, create an account or log in if you already have one. Follow the steps on the screen to set up your account.
Configure your settings. Depending on the VPN provider, you may have to change a few settings. For example, on the native NordVPN app, you need to select your location.
Connect to a VPN server. Finally, choose a VPN server and click “Connect” in the VPN app. Some VPN providers recommend which server to connect to based on your location, which is helpful if you’re new to a VPN. When you connect to a server, your traffic will be encrypted, providing more online privacy and security.
For more detailed information, check out our post on how to use a VPN. And if you’re facing any speed or connection issues, find out how to fix them in our post on why your VPN is not connecting.
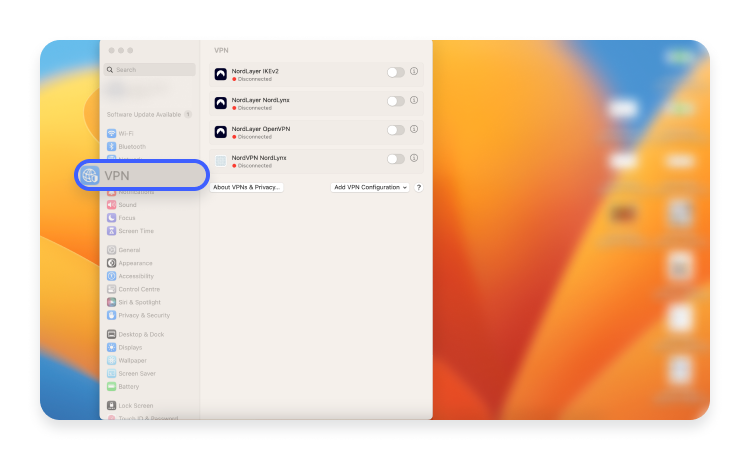
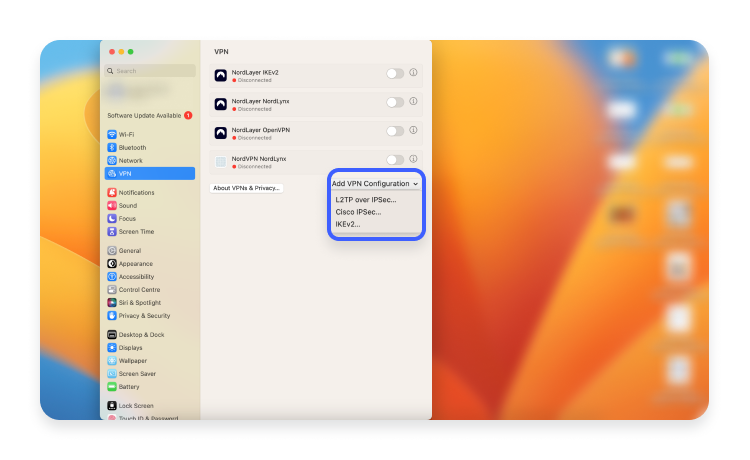
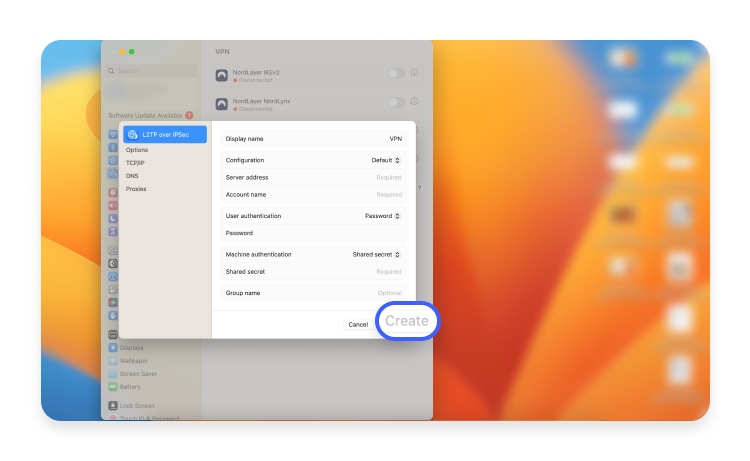
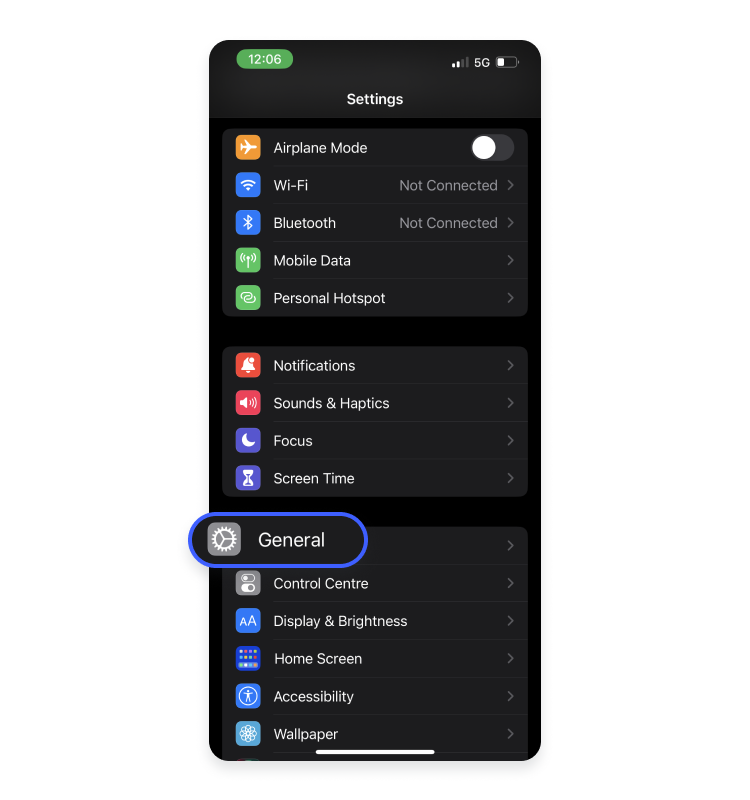
You can also set up your VPN manually without downloading the VPN provider’s app. Users may want to do this for several reasons, such as the ability to customize their VPN or if their device isn’t compatible with the VPN provider’s software.
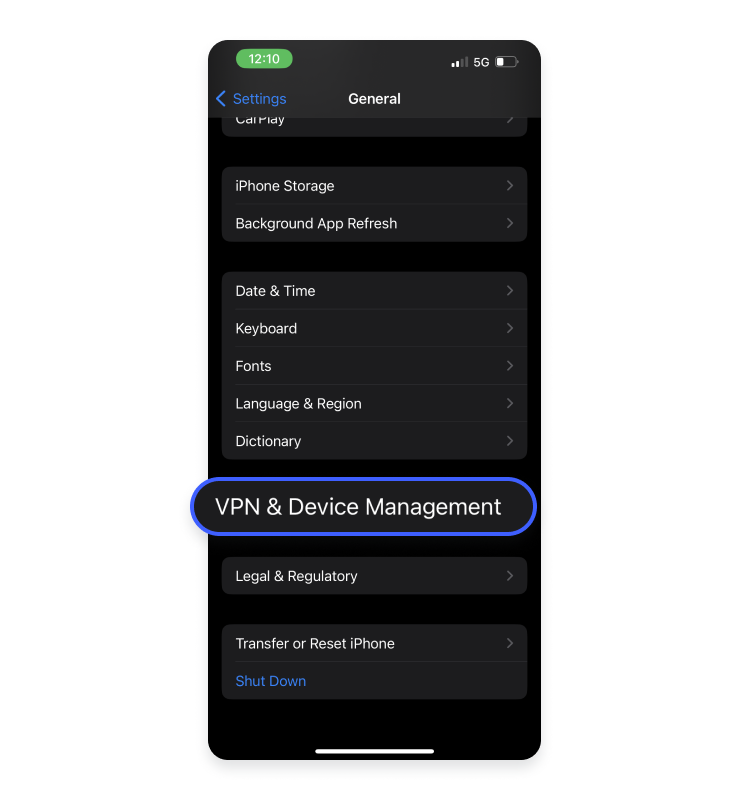
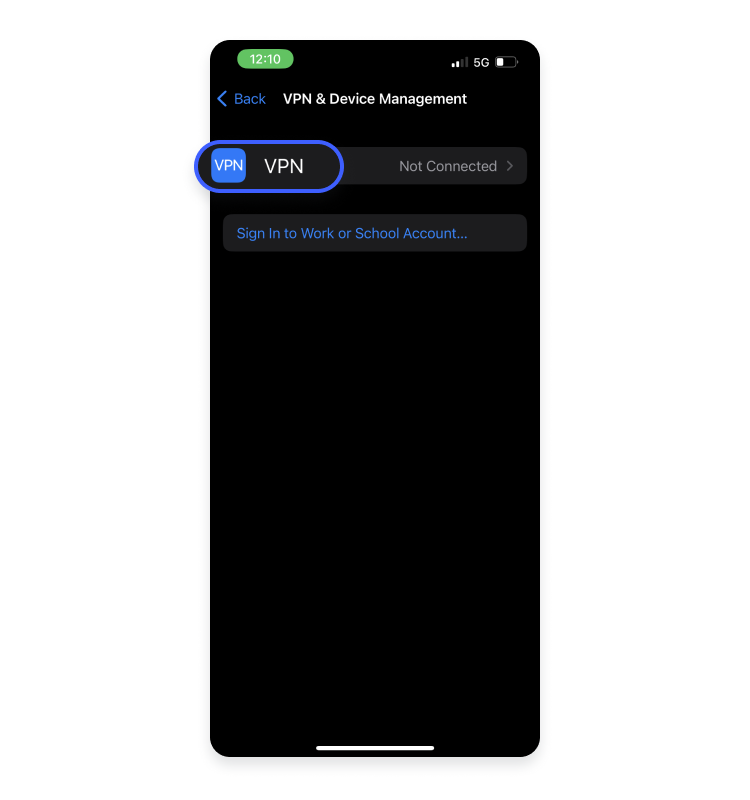
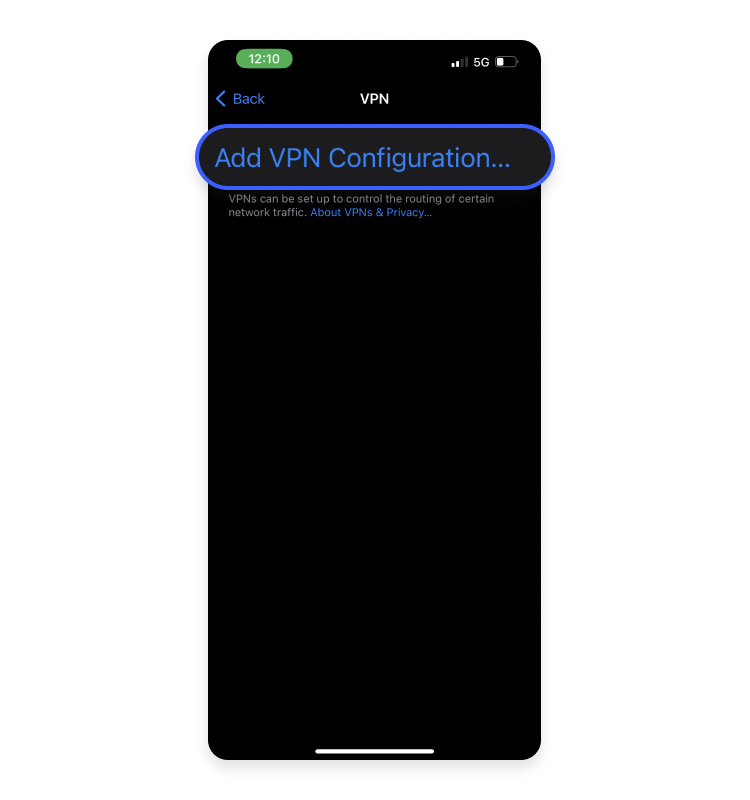
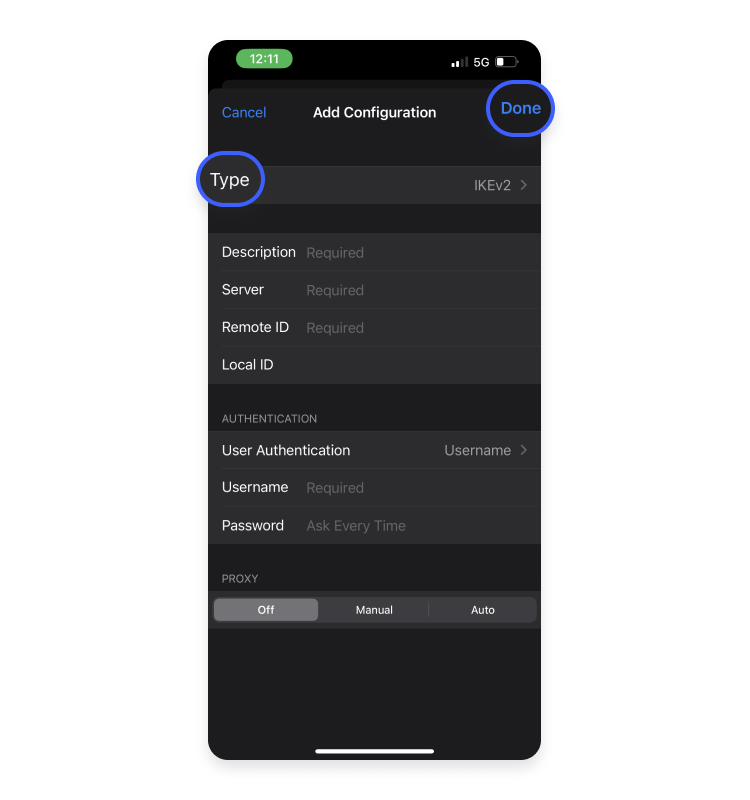
The manual setup for a VPN will depend on the provider and the device’s operating system. Below we’ve listed ways to manually configure NordVPN for each operating system.
Follow the instructions in the setup wizard and install the application.
Go to the NordVPN server configuration files page.
Select the server you want to use, click on “show available protocols,” and then choose “download config” to download configuration files of your preferred protocol. You can learn more about their differences here.
Go to the folder where you downloaded the configuration files. Right click on them and select “copy.”
Extract the configuration files to this directory: C:\Program Files\OpenVPN\config\
To prevent DNS leaks, open the downloaded .ovpn configuration file with any text editor and paste this line: block-outside-dns. Don’t forget to save it!
Open the OpenVPN GUI app and allow the application to make changes to your device, as they are necessary for a VPN connection.
Right-click on the application icon in the system tray area, hover over one of the servers, and click “connect.”
Enter your NordVPN service credentials and click “OK.” You can find your NordVPN service credentials in the Nord Account dashboard.
You should be successfully connected. To disconnect, right-click on the application icon, hover over the server, and click “disconnect.”
Download Tunnelblick, a free app for managing OpenVPN connections on macOS.
In the server configuration files page, find out which server is recommended for you.
Under the recommended server, click on “show available protocols” and then download the configuration files.
Install Tunnelblick.
A pop-up will ask you if you want to launch Tunnelblick now. Type your administrator password and click “launch.”
A new dialogue box will appear. Click “Continue.”
Drag and drop the previously downloaded .ovpn file from your “downloads” folder to the “configurations” tab in Tunnelblick.
Select if you want to install configuration files for all users, and enter your Mac password to confirm your selection.
A warning will pop up. Check the “do not warn about this” again box and click “OK.”
Select the server and click “connect.” Enter your NordVPN service credentials, mark the box “save in keychain,” and click “OK.” You can find your NordVPN service credentials in the Nord Account dashboard.
To disconnect, click on the Tunnelblick icon in your status bar and select “disconnect.”
Go to the App Store and download the OpenVPN Connect app
Once the app is installed, download the .OVP configuration file from the server configuration page. Make sure to use the Safari browser.
Select “open in OpenVPN.”
Enter your NordVPN service credentials, save the password in a keychain, and tap “add” in the top right corner. You can find your NordVPN service credentials in the Nord Account dashboard.
A pop-up will appear asking for permission to add OpenVPN to your VPN configurations. Click “allow.”
Tap on the toggle switch to connect to the VPN.
To change a server, disconnect from the current server by tapping the toggle switch next to it and enable another imported profile.
To disconnect, tap on the same toggle button you used to connect.
Download the configuration files for a server recommended to you by our server configuration files page. You will find the configurations by clicking on “show available protocols” under the recommended server hostname.
Go to the Play Store and download the OpenVPN Connect app.
Launch the app, select “file,” and then tap “allow.”
Navigate to the folder where you have downloaded the OpenVPN configuration file. Choose the files you want to import and press “import” at the bottom.
In the following window, type any title for the connection and enter your NordVPN service credentials. In the upper-right corner, tap “add.” You can find your NordVPN service credentials in the Nord Account >dashboard.
Tap the toggle switch next to the OpenVPN profile to connect to NordVPN.
The app will ask you for permissions necessary for the VPN connection. Tap “OK.” Then tap “continue.”
Yes, you can create your own virtual private network, but this option has more drawbacks than benefits. There are three ways to do it:
Use a high-end router that supports VPN functionality and allows you to host a VPN server.
Turn one of your devices (e.g., your computer) into a VPN server.
Sign-up with a cloud provider so you can host your VPN in a preferred location.
However, keep in mind that these options require technical knowledge and complex configuration. Your security will be questionable, and you will be limited to a single server.
With a NordVPN subscription, however, you can choose from more than 5,200 servers in 60 countries. It’s easy to install a VPN on your laptop, smartphone, or tablet and enhance your online security. You can also set up a VPN on a router and protect the whole household with layers of powerful encryption.
With NordVPN enabled through the app, you’ll get the latest security features, top speeds, and 24/7 customer support. One account protects up to six different devices so you can stay protected wherever you go. If you’re wondering how to set up a VPN, this is the fastest and easiest option.
If you want an easy way to set up your own VPN server, you can use the Meshnet function. It is an additional NordVPN feature to protect your online traffic and also lets you join virtual LAN parties and access files stored on remote devices.
Karolis is a tech geek who writes about cybersecurity, online privacy, and the latest gadgets. When not rattling his keyboard, he’s always eager to try a new burrito recipe or explore a new camping spot.
This website uses cookies to provide you with a safer and more personalized experience. To find out more, read our Cookie Policy.
Essential
These cookies are needed for our website to function and be secure.
Always on
Functionality
We use these cookies to remember your key preferences, like language.
Analytics
Cookies that help us understand our visitors and improve their experience.
Advertising
These cookies help us display ads that are more relevant to our users.
We value your privacy
This website uses cookies to provide you with a safer and more personalized experience. By accepting, you agree to the use of cookies for ads and analytics, in line with our Cookie Policy.