Your IP: Unknown · Your Status: ProtectedUnprotectedUnknown

How to use private mode on Safari

Using private browsing on Safari is as simple as delving into the file dropdown menu and clicking “New private window.” By choosing to browse privately, you can bypass the website trackers and cookies looking to document your behavior. Here’s how you can browse privately on Safari.

Charles Whitmore

Charles Whitmore

How to use private mode on Safari

How to enable and disable private browsing on Safari

When you spend time browsing online, you’re opening yourself up to a plethora of website trackers and cookies. Companies typically use this hoarded data and behavioral traits to improve their own services, or sell the data on to third-party advertisers. Browsing privately is a good way to bypass most trackers, and it’s much easier and quicker to achieve than you might think. Remember that private browsing does not make you anonymous online, a feat that is already almost impossible.

How to turn on private browsing

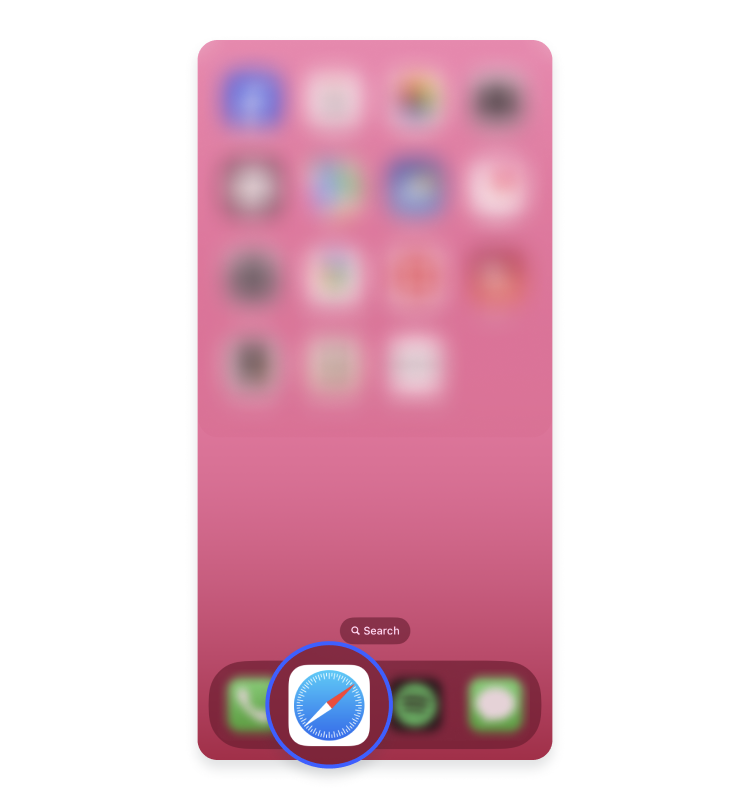
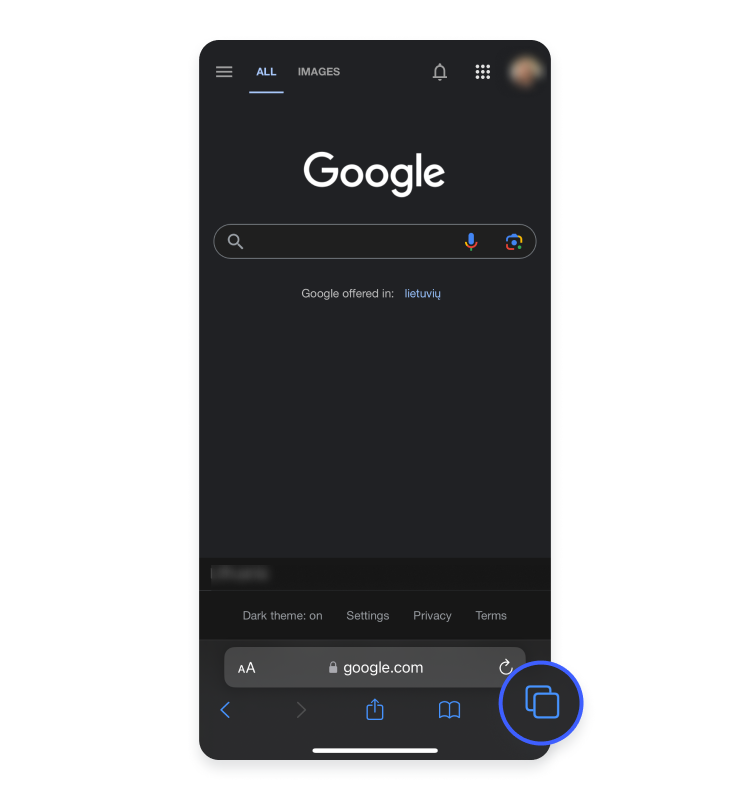
    1. Open up a new Safari window.
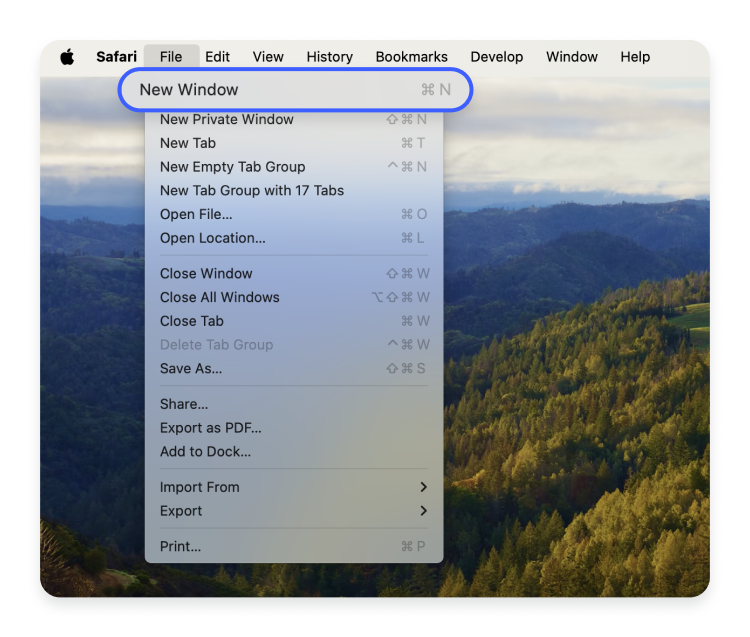
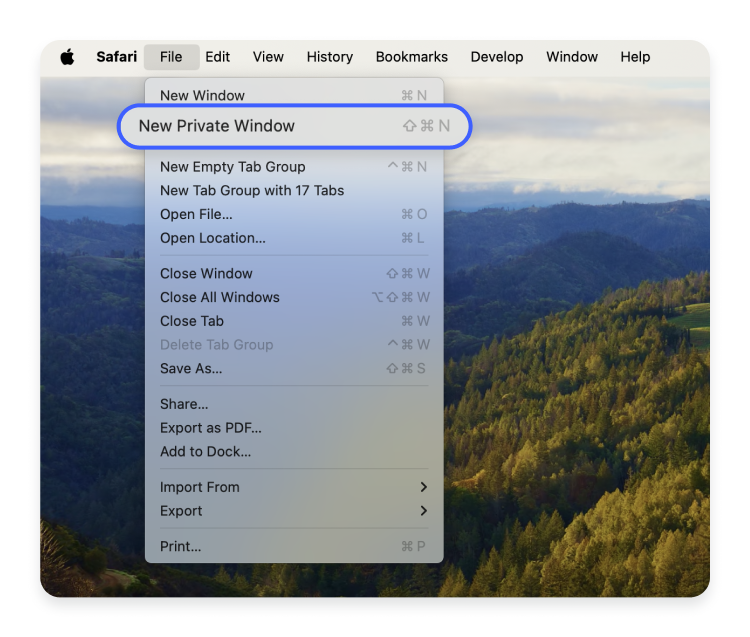
    2. Click on “File” in the top left corner of the screen.
    3. Now click “New private window.”
    4. private mode on safari

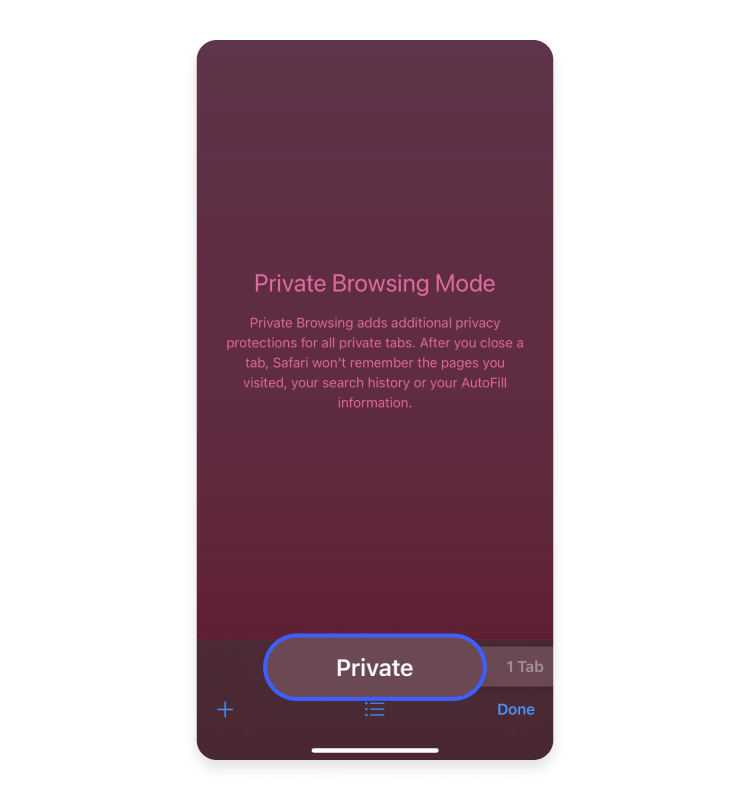
Your Safari window is now browsing privately, and none of your browser history while surfing in private mode will be saved.

To turn off private browsing on Safari, simply close the window. Remember, when you’re browsing privately, nothing you do will be saved to the browser.

When should you use Screen Time?

Where Safari private browsing lets you surf the net with more privacy, Screen Time acts like a screen against certain websites. Using Screen Time to limit what Safari can search for is a perfect tool for restricting specific website access. By taking advantage of what Screen Time has to offer, you can help prevent others from using your private browsing capabilities for something inappropriate.

    1. Click on the Apple logo in the top right of your screen. Click on the second option available in the dropdown menu, “System Preferences…”
    2. screen time system preference
    3. The first section of the system preferences window will have an app called “Screen Time.” Click on it to open a new window.
    4. screen time button
    5. Click “Continue.”
    6. screen time continue
    7. You’ll see a few different tab options on the left hand side of the window. Click on “Content & Privacy.”
    8. screen time content and privacy
    9. Now, you can choose to restrict all browsing activities on your Safari. The default settings have online restrictions set to “Off” for unrestricted access. By clicking “Turn on…” you’ll be able to choose exactly what sites you want to show up when browsing. You can even customize the settings to allow some sites, but block others, or limit adult websites altogether.
    10. screen time turn off
    11. To disable the settings, just jump straight back into the window and turn off “Content & Privacy” restrictions.
    12. screen time turn on

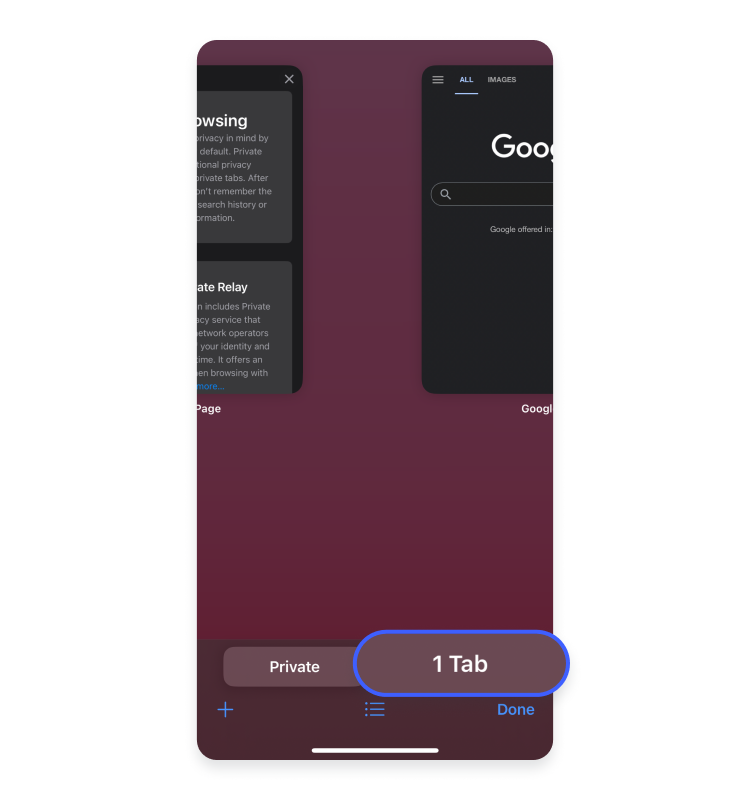
When relying on Screen Time restrictions, you can’t access private browsing in Safari. If you try to open up a private tab via the method detailed above, you’ll find that the option is grayed out and unclickable. A private tab cannot be opened while Screen Time restrictions are active.

How to stop sharing Safari private browsing restrictions on other Apple devices

Luckily, when it comes to Apple products and services, the UI is simple to understand and follow. When it comes to disabling private browsing restrictions for your other Apple devices, it literally takes a click of a button. Delve back into Screen Time and, with your restrictions turned on, look to the bottom left hand corner of the window for the “Options” button.

Once you’ve brought up the new window, the first option you should see will be to “share across devices.” This means that every Apple device that is linked with your Apple ID will share the same Safari restrictions. Simply disable this option and restrictions will only be applicable to the devices you specifically want them for.

Screen Time via guest user

Alternatively, if you don’t want to fiddle around with your Safari Screen Time settings, you could just set up a guest user account instead. When you create a guest user, you can choose to limit their access to the internet.

    1. Open the “System preferences” window. Near the Screen Time app should be something called “Users and groups.” Click on it.
    2. guest user user and groups
    3. Click on “Guest user” and turn it on.
    4. guest user turn on
    5. You should be able to check the tab “Limit adult websites.”
    6. guest user adult websites
    7. Restart your Mac to guarantee the changes are implemented.

This is another good option when you hand your device over to a younger family member, especially if they have the device for an extended period of time.

Enabling Safari Screen Time for family members

Having an entire household or family using Apple products is useful when it comes to sharing files between each other or implementing large changes. If you have family sharing already set up, you should be able to change the settings of a family member’s device from your own Screen Time options.

From the “Content & privacy” section found in the Screen Time app, you can pick a family member and limit adult websites access.

Do Screen Time restrictions work outside Safari?

Screen Time limitations are strictly for Safari. However, if you aren’t keen on using Safari, most browsers will have a private browsing option available. Incognito mode, for example, is how you access private browsing on Chrome.

Screen Time, being an Apple app, will only work with the Safari browser, an Apple product.

Is private browsing enough to hide your online activity?

Ultimately, private browsing can keep prying eyes away, especially if the device is regularly used by multiple people. However, anyone with enough tech savvy can still find some secrets that you may have thought were unattainable with private browsing enabled.

For example, private browsing does not hide your search history. On a surface level, yes, search requests made on a private window won’t autofill when you go back to a normal window. However, your DNS cache will hold all your online search history, including your private searches. Make sure to regularly clear your DNS cache to avoid anyone snooping.

It’s important to make a distinction between private browsing and private search engines. While a private search engine will never store your history, the browser will still retain some identifying data. Of course, one of the best ways to protect your privacy online is with a VPN. With NordVPN active, anyone trying to snoop on your online habits will be met with frustration as they try to find a way around our next-level encryption.

Online security starts with a click.

Stay safe with the world’s leading VPN


Charles Whitmore
Charles Whitmore Charles Whitmore
Charles is a content writer with a passion for online privacy and freedom of knowledge. A technophile with a weakness for full Smart Home integration – he believes everyone should strive to keep up-to-date with their cybersec.

We value your privacy

This website uses cookies to provide you with a safer and more personalized experience. By accepting, you agree to the use of cookies for ads and analytics, in line with our Cookie Policy.