How to fix the “Ethernet does not have a valid IP configuration” error
“Ethernet does not have a valid IP configuration” — have you ever encountered this error? It’s a common issue that many users experience, and it prevents them from accessing the web. But what is an IP configuration? And how can you fix it?

What does the “Ethernet does not have a valid IP configuration” error mean?
The “Ethernet does not have a valid IP configuration” error means that Windows can’t receive the IP address from the DHCP (Dynamic Host Configuration Protocol), which automatically assigns IP addresses to devices connected to the network.
Your computer needs an IP address to connect to the internet and communicate with the outside world. It’s similar to your home address. If a postal worker doesn’t know where you live, they can’t deliver your mail. Likewise, without a valid IP configuration, the internet can’t send you data.
There could be several reasons for this error: incorrect network configurations, outdated drivers, or something else. However, this is not a serious issue and can be solved even with limited technical knowledge. Just follow these steps to get back online.
Ways to fix the “Ethernet does not have a valid IP configuration” error
Let’s look at what options you have to solve the “Ethernet does not have a valid IP configuration” error:
Restart your router
Turning your router on and off can work miracles. While this might seem a trivial solution, restarting your router usually solves nine out of 10 internet connectivity issues. When you turn off your router, make sure to count until 10 before turning it on. Additionally, you can also restart your PC.
Restart the network adapter
If the problem persists, you can reset the network adapter and refresh your IP configuration:
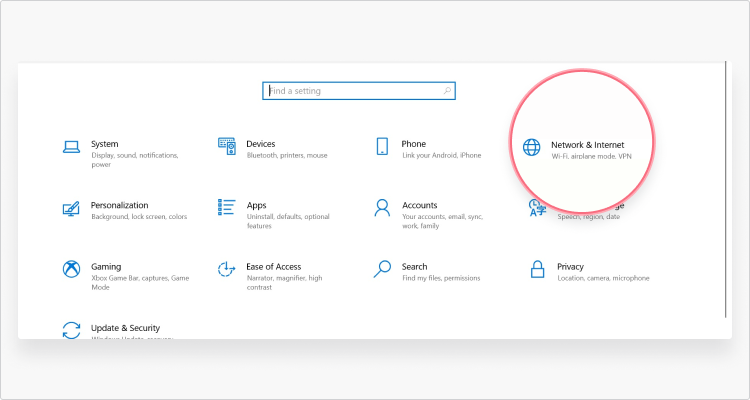
- Go to “Settings,” then hit “Network and internet,” and head to “Status.”

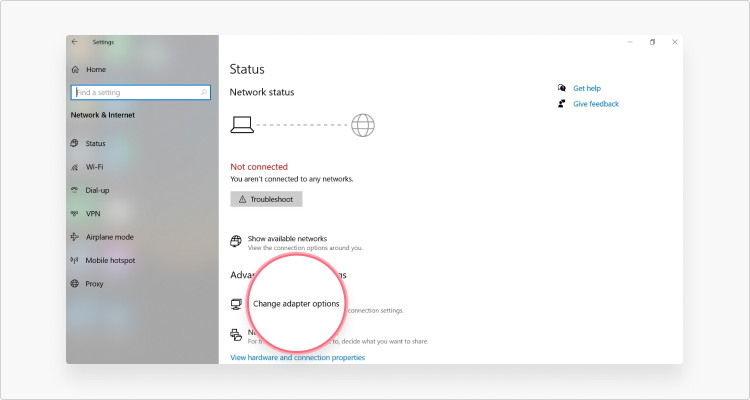
- Under the “Advanced network settings” section, click “Change adapter options.”
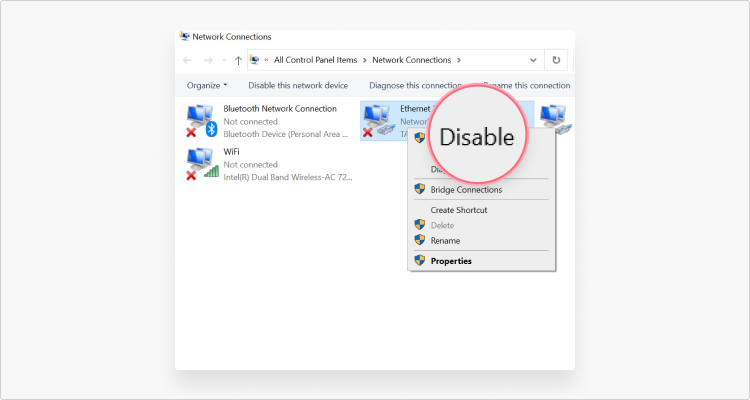
- Right-click the adapter and select “Disable.”
- Right-click the adapter again and select “Enable.”
Configure your network adapter settings
Your device obtains an IP address automatically, but it’s worth checking if your settings are correct:
- Go to “Control panel,” press on “Network and sharing center,” and then head to “Change adapter settings.”
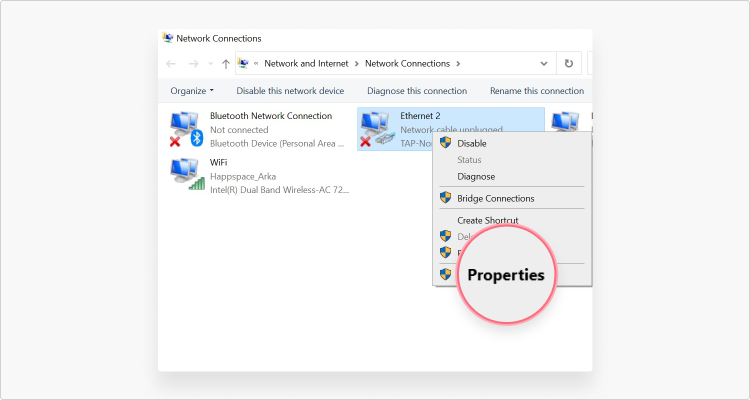
- Right-click on the Ethernet and select “Properties.”
- Double-click on “Internet Protocol Version 4 (TCP/IPv4).”
- Click on the “Obtain an IP address automatically” radio button.
- Click on the “Obtain DNS server address automatically” radio button.
- Click “OK.”


You can also change your default settings manually and see if it helps to connect to the internet:
IP address: 192.168.1.15
Subnet mask: 255.255.255.0
Default gateway: 192.168.1.1
Preferred DNS server: 8.8.8.8*
Alternate DNS server: 8.8.4.4 address.
*In this example, I’m using Google’s DNS server. Learn how to choose a secure DNS server and select it in our article on how to change your DNS server.
Clear the network cache
Follow the instructions to clear the network cache:
- Type “cmd” in the Windows search bar and open “Command prompt.”
- Type “ipconfig/flushdns” and hit “Enter.”
- Type “ipconfig/release” and hit “Enter.”
- Type “ipconfig/renew” and hit “Enter.”
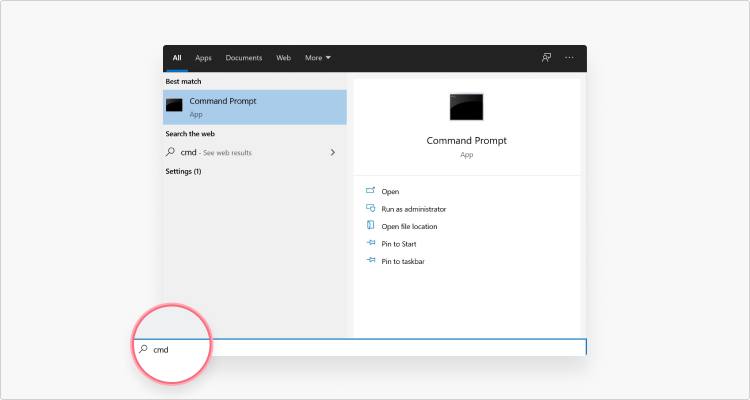

This will clear your DNS cache on Windows, release your IP address, and renew it.
Troubleshoot Windows
Windows can identify connectivity issues and fix all kinds of problems. It doesn’t always help, but it’s not a bad idea to try:
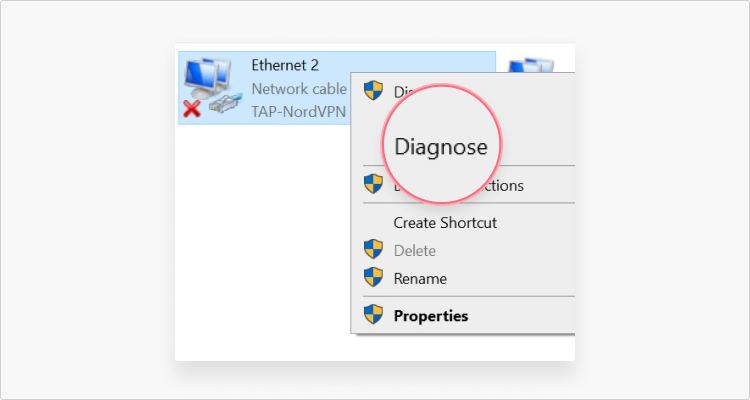
- Go to “Settings,” hit “Network and internet,” and press “Status.”
- Under the “Advanced network settings” section, click the “Change adapter options.”
- Right-click on the adapter and select “Diagnose.”
Update ethernet network adapter drivers
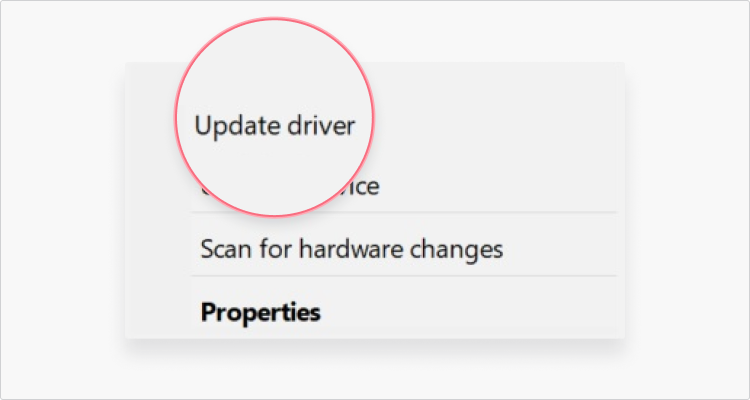
Outdated ethernet network adapter drivers may be the cause of the error:
- Type “Device manager” in the Windows search bar.
- Expand the “Network adapters” section.
- Right-click on the selected driver you want to update.
- Select “Update driver.”

If you have tried all the options mentioned above and still bump into the “Ethernet does not have a valid IP configuration” error, contact your internet service provider (ISP) directly for technical support.
How to prevent ISPs and other parties from spying on you
Your IP address links your online activities with your identity and location. The websites you visit, the services you use, your location history, search queries, and other sensitive information is all accessible to your ISP and other third parties.
This data is used to create a detailed profile of your habits, so companies can target you with online advertisements. If you want to avoid this and keep your information to yourself — use a VPN. A virtual private network hides your IP address and encrypts traffic, so nobody can see what you do on the internet.
NordVPN has more than 5,500 servers in 60 countries, allowing you to hop between them and protect your data. Robust VPN functions benefit all kind of users and improve digital security. Our obfuscated servers can also help you bypass online censorship in restrictive regimes.
With one NordVPN account, you can protect up to six devices: laptops, smartphones, tablets, Android TVs, routers, and more. Protect your privacy today with the tap of a button.